Step 1-
To get started click the icon below to download the software to your computer. When the dialog box pops up, choose save and place it somewhere easy to remember on you hard drive. The desktop is a good place, since you will be deleting it once you have installed the program.

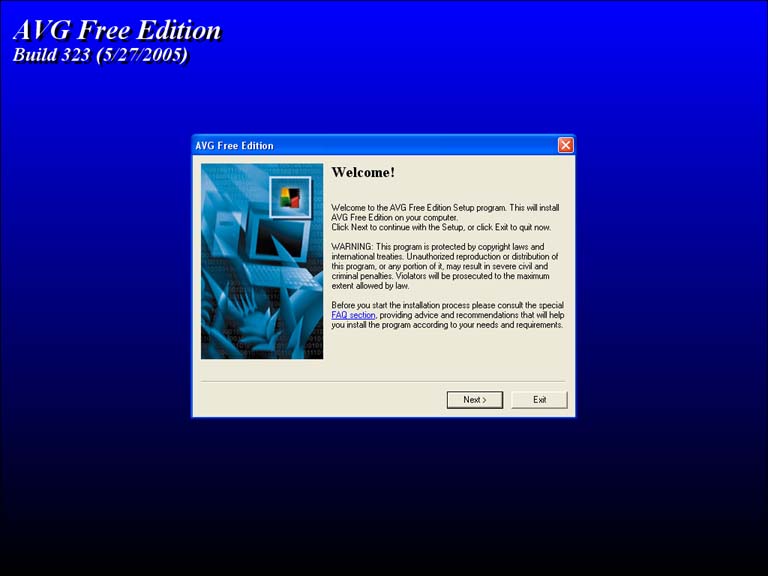
Step 2-
Now that you have the installation file on your computer, go ahead on launch it. When you start the installation you will see this screen below, choose Next.
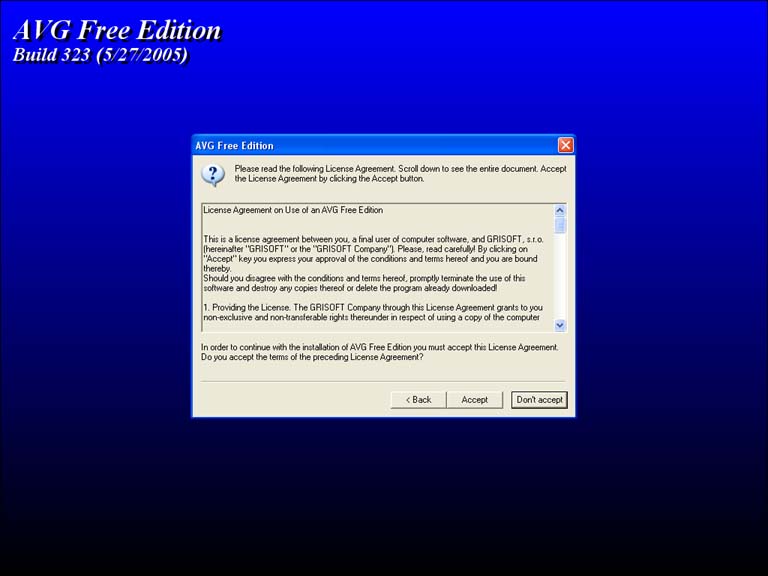
Step 3-
Choose Accept.
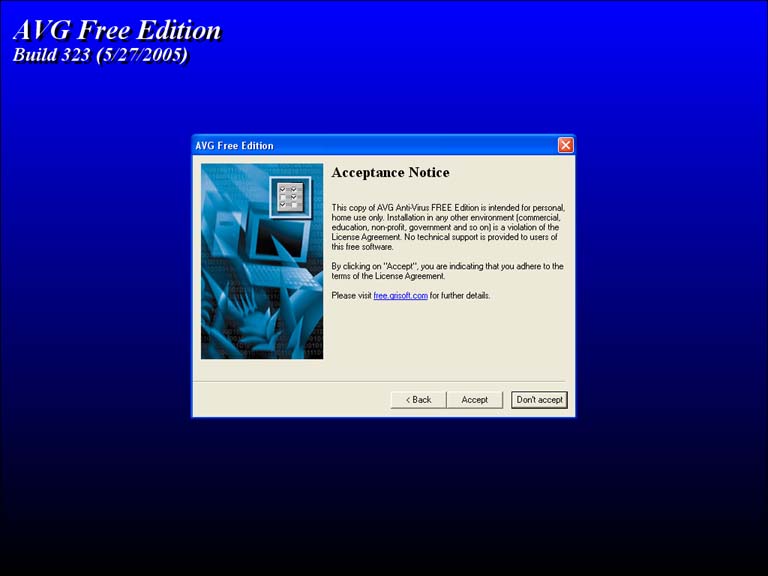
Step 4-
Choose Accept
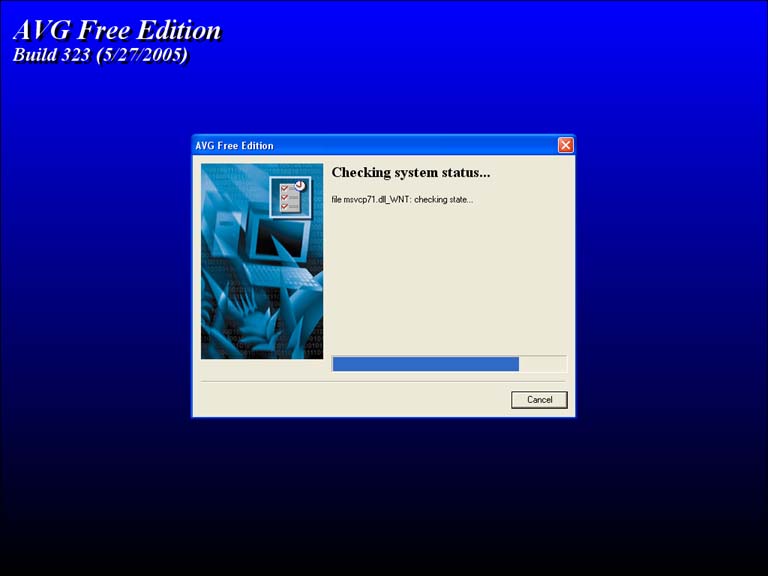
Step 5-
This screen will show briefly as the installation checks your computer.
Step 6-
Make sure the top option "Standard Installation" is selected and choose Next.

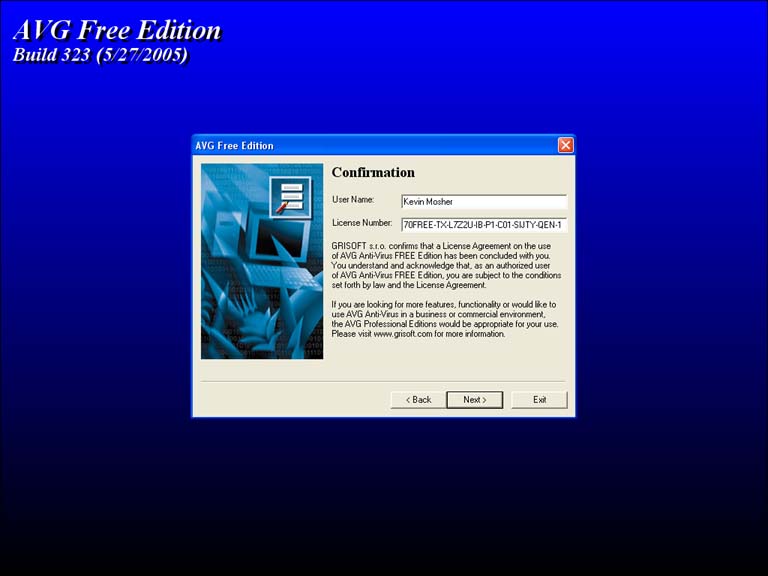
Step 7-
Your name should be displayed below, if not type it there and choose Next.
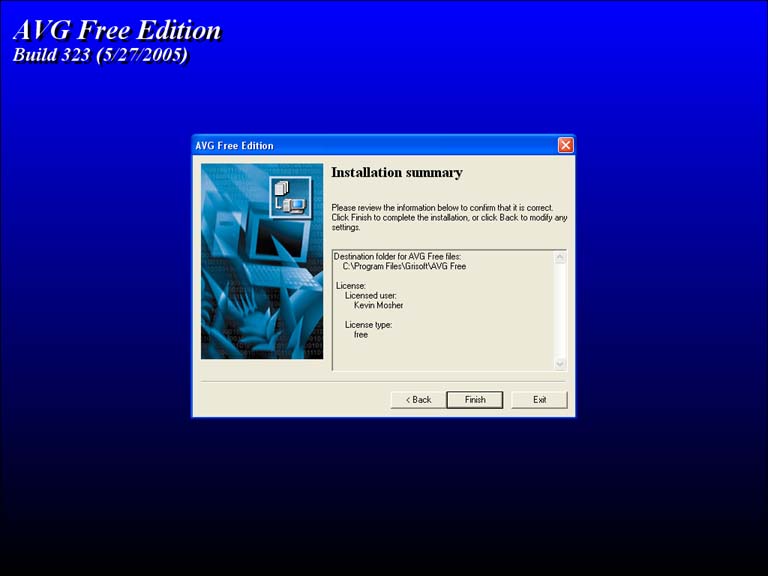
Step 8-
Choose Finish to begin the installation.
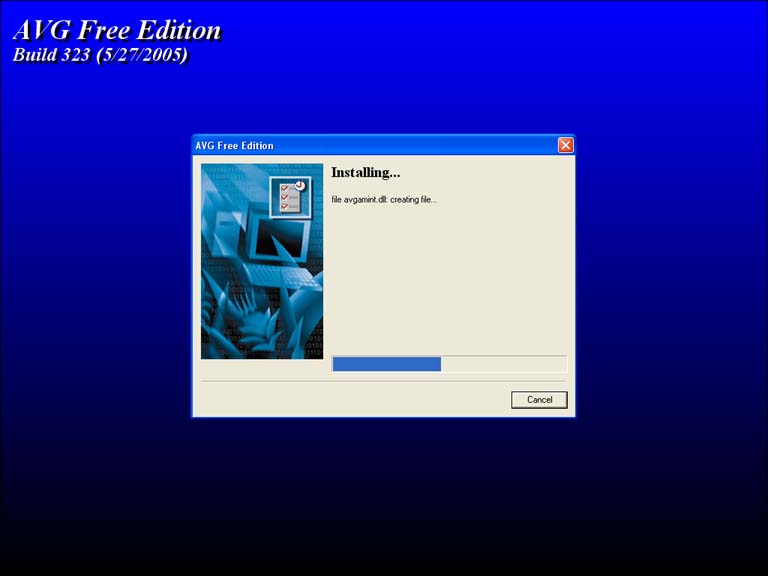
Step 9-
You will see this screen as the program is installed.
Step 10-
After installation is complete choose Ok.

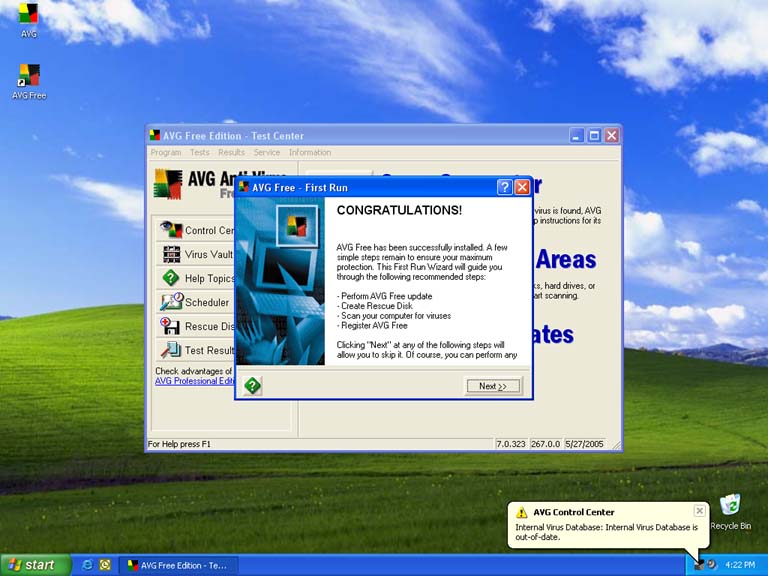
Step 11-
Now the program will automatically launch to be configured and ran the fist time. Choose Next.
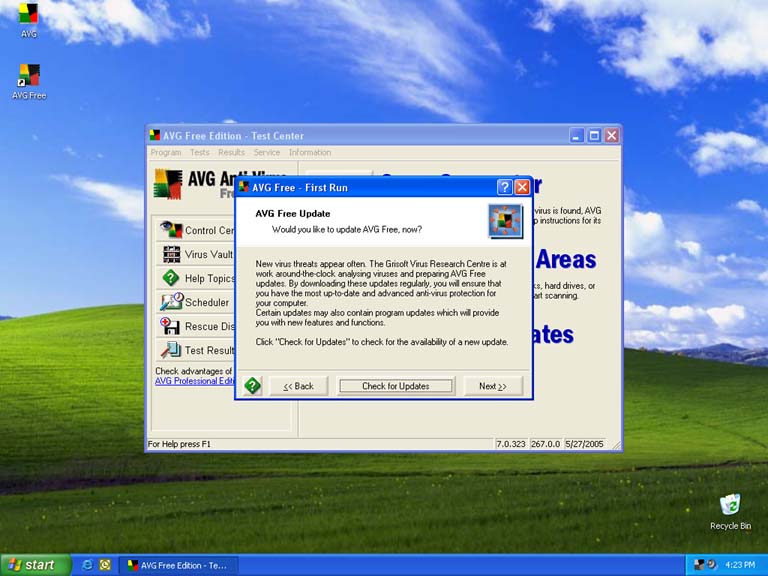
Step 12-
Choose Check for Updates
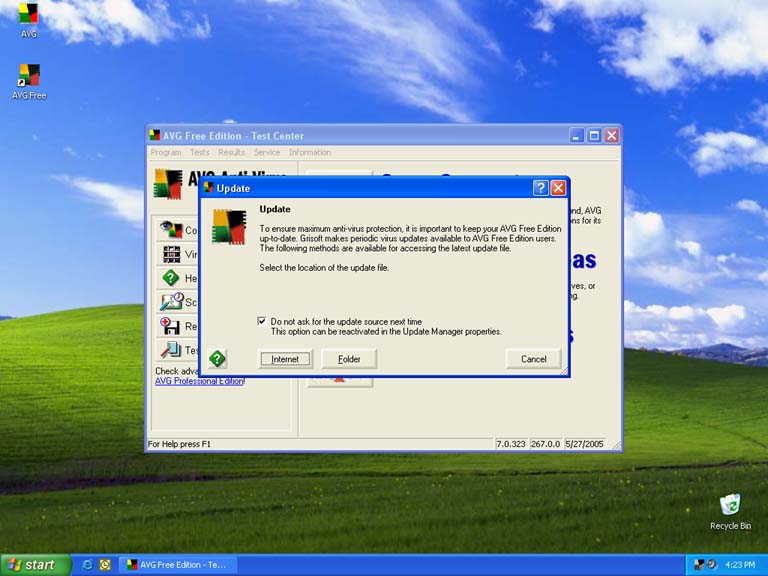
Step 13-
Check the "Do not ask for the update source next time" and choose Internet, if you aren't already connect to the Internet connect now.
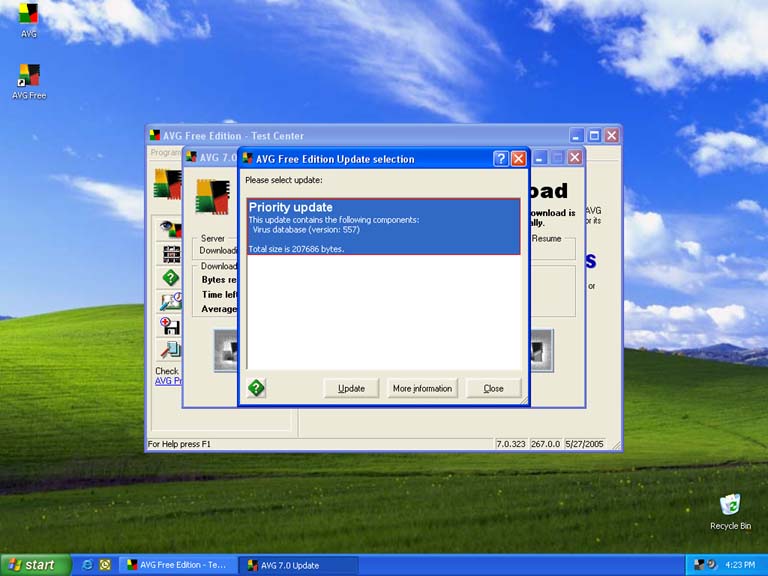
Step 14-
When this screen pops-up select all the updates that are displayed and choose Update. Hint: if there are multiple updates hold-down the shift key while left-clicking on them to select multiples.
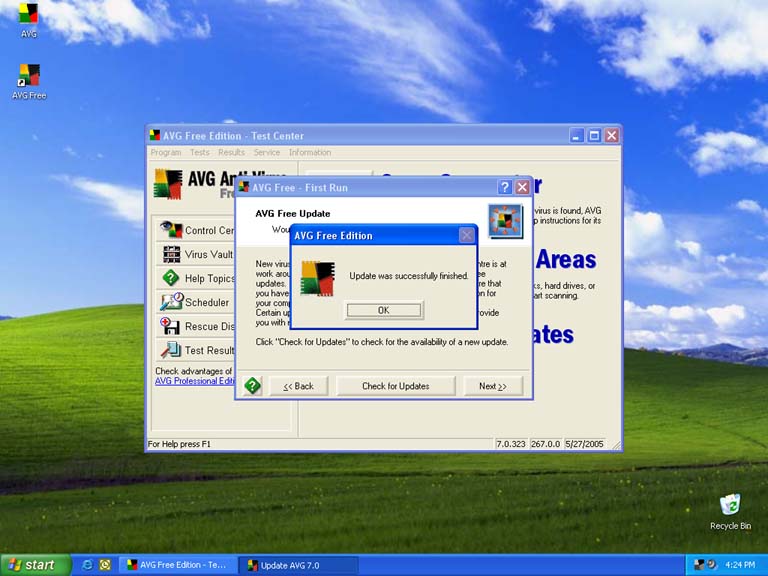
Step 15-
Choose Ok when finished.
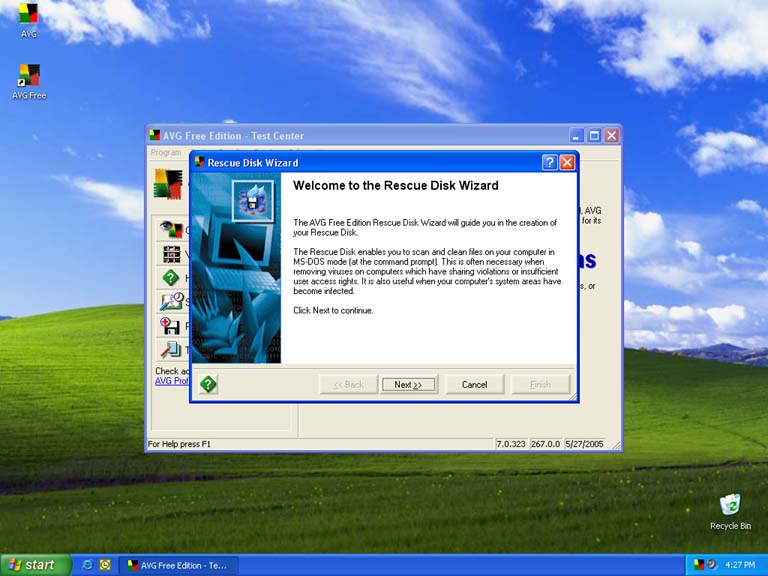
Step 16-
The next step will require you to create a 1.44MB floppy disk to create a rescue disk, so that if your computer won't boot-up from a virus you can try and fix it with this disk. If you don't have a floppy drive choose next and skip to step 23. If you have a floppy drive choose Create Rescue Disk.

Step 17-
Choose Next
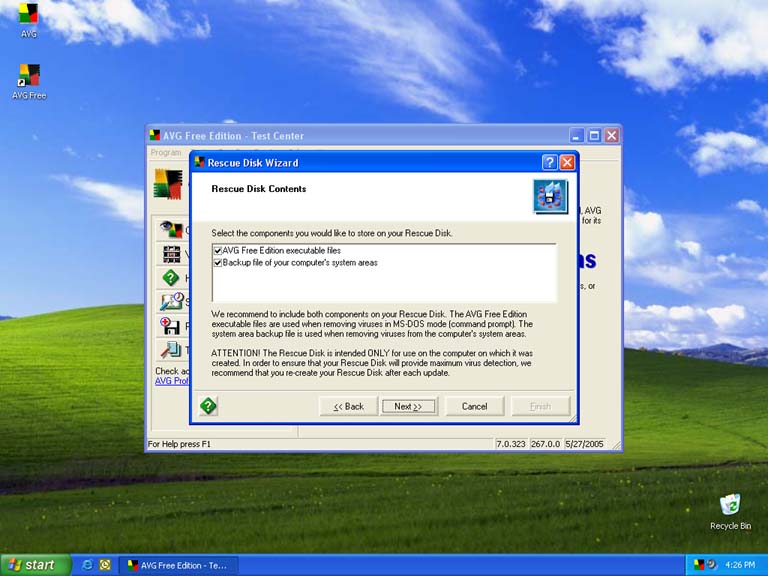
Step 18-
Make sure all boxes are checked and choose next.
Step 19-
You can leave the description blank and choose next.

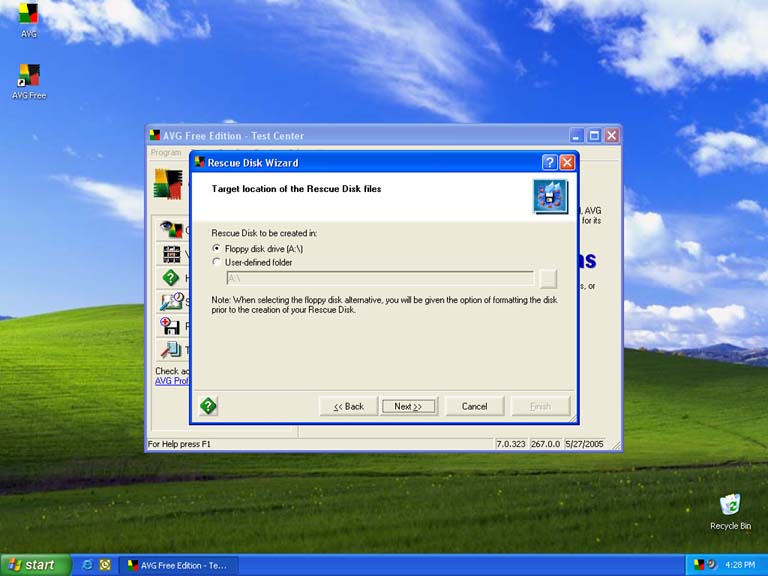
Step 20-
Make sure Floppy disk drive (A:\) is selected and choose next.
Step 21-
Place the black disk in drive A: and choose Create.

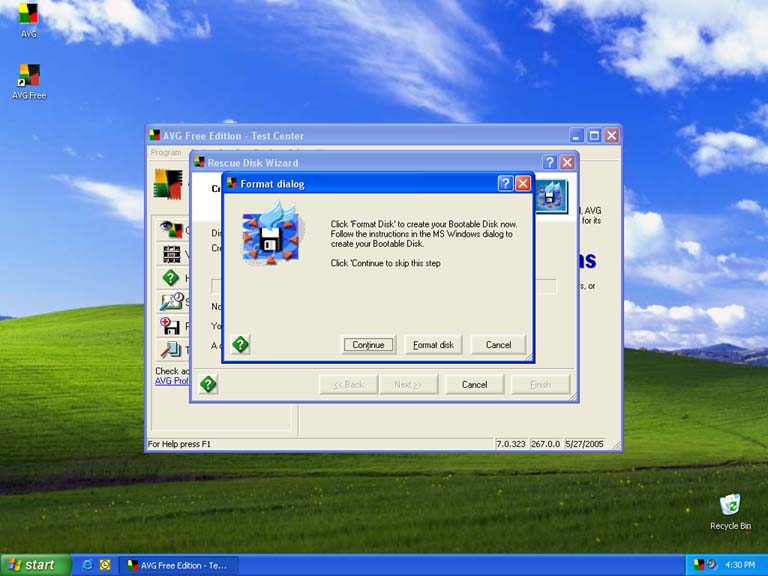
Step 22-
Choose Format Disk and follow instructions until you get to the next screen in step 23.
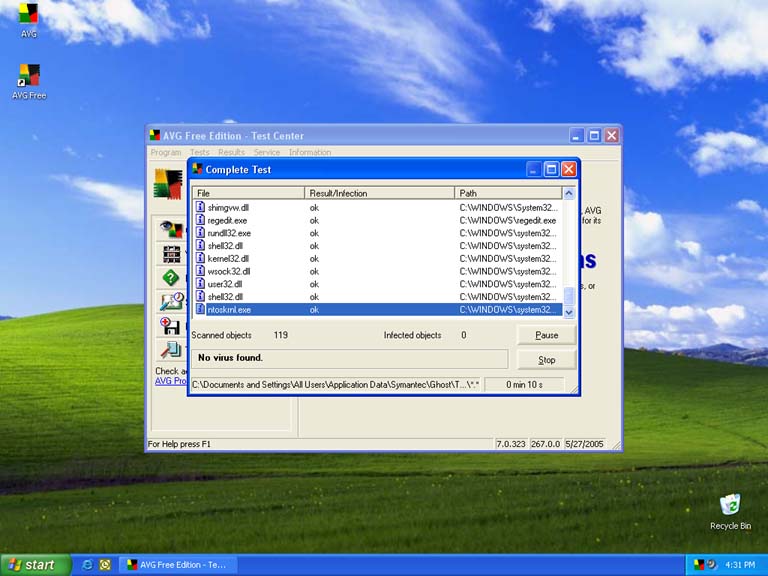
Step 23-
Choose Scan Computer! to check for virus'.

Step 24-
You will see a screen similar to this while your computer is searched. The process will take between 30-60 minutes maybe more depending on how much is on you hard drive.
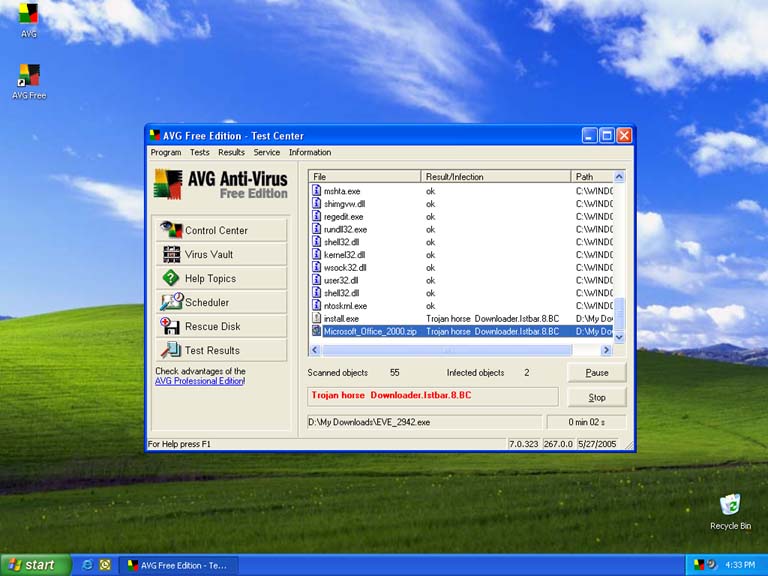
Step 25-
If any virus' are found you will see a screen similar to the one below.
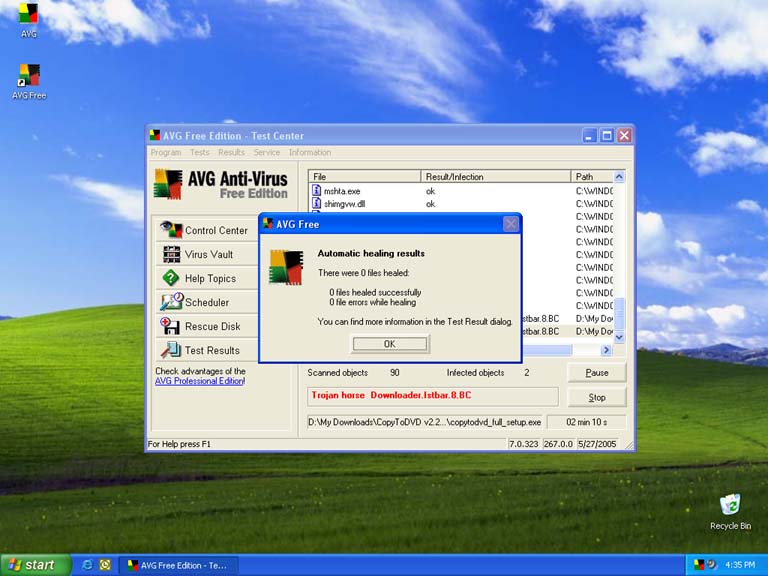
Step 26-
Once the scan is finished you will get a screen like this, choose Ok.
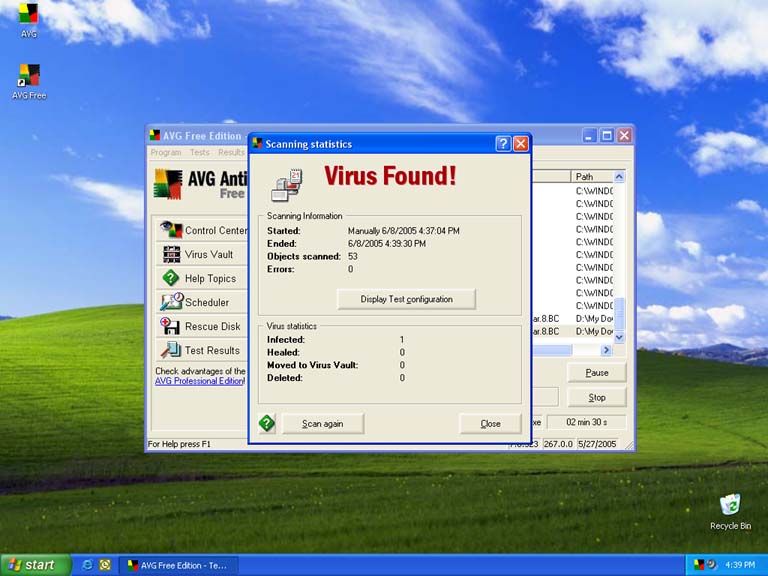
Step 27-
You will then get a summary screen letting you know how many infections were found. If the Healed, Moved to Virus Vault and Deleted don't add up to the total infections found you still have an infected file on you computer that will need to be deleted. This is the case with the example below. To remove the file choose Close and go to step 28.
Step 28-
On this screen it will show all files that had infections and the status of that file. If any of the files show a status of infected you will need to manually delete these from your computer. The path to find these files is displayed in the window. After you have deleted the files make sure to empty the recycle bin and run AVG again to make sure all infections are removed. To run the scanner again choose the Control Center button on the left, then choose Scan Computer. This scan should then find the computer clean, if there are still infections on the computer that aren't getting removed, a technician such as myself may need to be called to fix the problem.

Back to Tutorial page